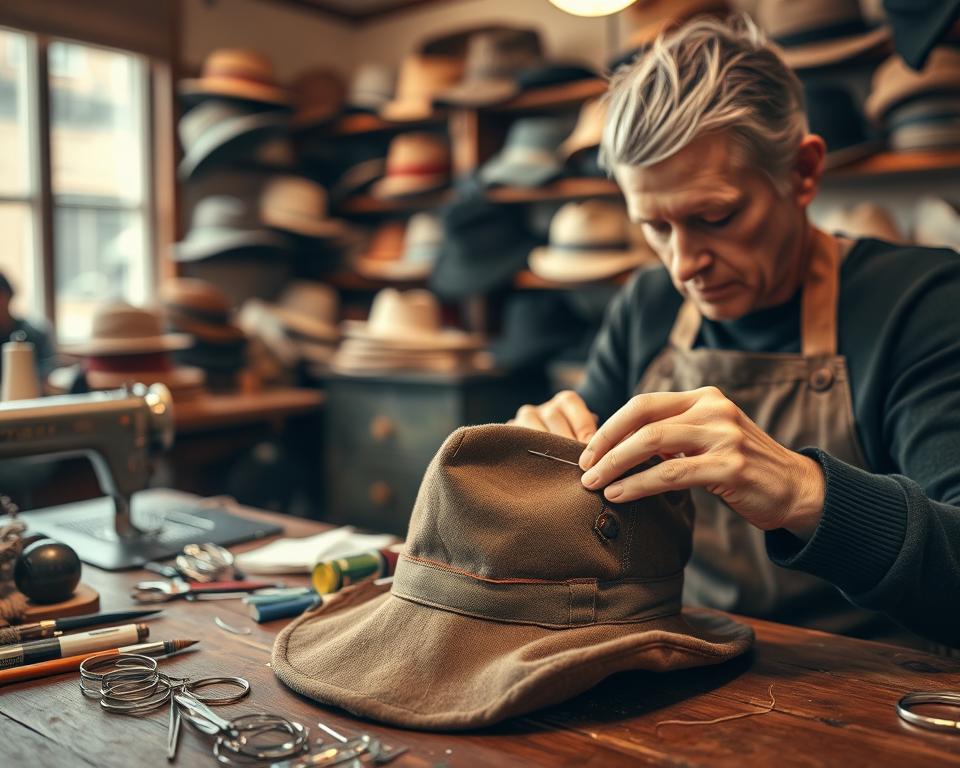
Welcome to our guide on fixing your broken hat. Whether it’s a vintage favorite or a recent mishap, we’ve got you covered. This article will show you how to repair and restore your hat. A broken hat can be a real bummer, but with the right steps, you can breathe new life into it.
We’ll cover everything from checking the damage to choosing the right tools and materials. Our aim is to teach you how to fix your hat and make it look brand new again. With our tips and tricks, you’ll be well on your way to hat repair mastery.
Introduction to Hat Repair
Before we dive into the nitty-gritty of hat repair and restoration, let’s set the stage. You’ll learn how to bring your favorite hat back to life. With the right techniques and tools, you can make your hat look as good as new.
Key Takeaways
- Learn how to assess the damage to your broken hat
- Discover the right tools and materials for hat repair and hat restoration
- Get tips on how to fix common hat problems, such as torn brims and damaged edges, through hat repair
- Learn how to restore your hat to its original condition through hat restoration
- Find out how to prevent future damage to your hat
- Understand the importance of proper hat care and maintenance for hat repair and hat restoration
Why Save Your Broken Hat Instead of Buying New
When a favorite hat breaks, many think about getting a new one. But, repairing a hat is better for the environment, saves money, and keeps memories alive. It’s a way to reduce waste and support green fashion. Plus, it’s a smart way to make your hats last longer.
Some of the key advantages of hat repair include:
- Environmental benefits: reducing waste and the demand for new, resource-intensive hats
- Cost-effective solution: saving money by extending the life of existing hats
- Preserving sentimental value: keeping cherished memories and emotional connections tied to a particular hat
It’s clear that fixing a broken hat is a good choice. It’s not just cheaper, but it’s also better for the planet. By fixing your hat, you help the environment, save cash, and keep special memories alive.
In the next section, we will explore the common types of hat damage. This will help you understand how to fix your hat and keep it in good shape.
Common Types of Hat Damage to Look For
There are many common problems that can damage hats. Tears, stains, and misshapen crowns are just a few examples. To fix your hat, you need to know what kind of damage it has.
Identifying the damage helps you choose the right repair method. This way, you can make your hat look new again.
Some common issues include brim damage, band damage, and crown damage. Brim damage might look like tears or cracks. Band damage shows up as wear or damage inside the hat. Crown damage makes the hat’s top look misshapen or dented.
Knowing the damage helps you pick the best repair. You can then use the right techniques to fix it.
Examine your hat carefully to assess the damage. Look for signs like tears, stains, or misshapen areas. Understanding hat damage helps you fix it and prevent more problems.
Essential Tools and Materials for Hat Repair
To fix your hat right, you need the right tools and materials. A good toolkit with hat repair tools, sewing supplies, and cleaning stuff is key. It makes your repairs look pro.
For hat repair, you’ll need basic sewing stuff like needles, threads, and fabric glue. Special tools like a hat block or brim curler are great for tough jobs. Also, mild soap and a soft-bristled brush help clean your hat.
- High-quality sewing needles and threads
- A variety of fabric glues and adhesives
- A hat block or other shaping tool
- Mild soap and a soft-bristled brush for cleaning
- Specialized hat repair tools, like a brim curler or a crown stretcher
With these tools and materials, you’ll get better at fixing hats. You’ll be able to handle even the toughest repairs with confidence.
How to Assess Your Broken Hat’s Condition
Checking your broken hat‘s condition is key to finding the right fix. You need to look at the damage, check for stains, and see how the hat is put together. This helps you figure out how bad the damage is and plan how to fix it.
Start by looking at the hat closely. Look for tears, holes, or frayed edges. Check the brim, crown, and band for wear or damage. This first look tells you what kind of fix your hat needs.
Also, think about the hat’s materials. Different materials need different fixes. For example, straw or felt hats need different care than cotton or synthetic ones.
After you’ve checked your hat, make a repair plan. This plan should list what materials and tools you’ll need, and the steps to fix it. A detailed plan helps make sure your hat is fixed right and will last a long time.
Important things to think about when checking your hat include:
- The type and extent of the damage
- The materials used to make the hat
- The hat’s overall structure and integrity
- The desired outcome of the repair
By thinking about these, you can make a detailed repair plan. This plan covers all the hat’s issues and helps fix it well.
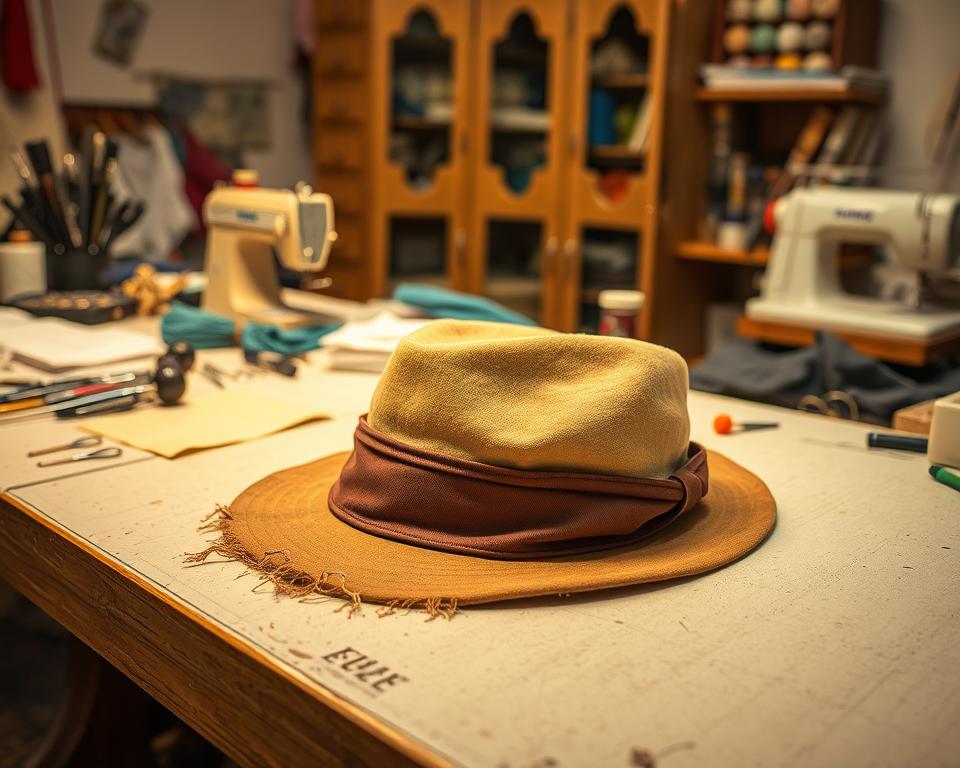
Fixing Torn Brims and Damaged Edges
Fixing hats with torn brims and damaged edges is common. These issues can be annoying, but you can fix them easily with the right tools and techniques. First, you need to check the damage and decide how to fix it.
To mend a torn brim, you can sew and reinforce it. Use strong thread to sew the tear, then add fabric or a patch for extra strength. For damaged edges, you can use glue or sewing to fix them back in place.
Reinforcing Weak Areas
It’s important to strengthen weak spots like the brim and edges. You can use fabric, thread, and adhesives for this. Strengthening these areas helps your hat stay sturdy and last longer.
Replacing Brim Wire
Sometimes, you need to replace the brim wire. This might seem hard, but it’s possible with the right tools and methods. Remove the old wire and attach a new one with glue or sewing. Replacing the brim wire is key to fixing your hat’s shape and structure.
Reshaping Techniques
After fixing the brim and edges, you might need to reshape the hat. You can use steaming and blocking for this. These methods help your hat regain its original shape and look, making it seem brand new.
Repairing Hat Bands and Sweatbands
Hat bands and sweatbands are key parts of a hat. They add style and make the hat comfortable. We’ll look at how to fix these parts, including the materials and methods used.
First, let’s talk about the materials used for hat bands and sweatbands. You might find leather or cotton. Each needs a different fix. For example, leather needs conditioning, while cotton might just need a clean and reattach.
Problems like fraying or cracking can happen. You can fix these with stitches, glue, or by replacing the band. The type of hat matters too. A Panama hat needs care, unlike a baseball cap.
Learning to fix hat bands and sweatbands is useful. It keeps your hats in good shape. Whether you’re new or experienced, these skills are valuable. With the right tools and knowledge, fixing hats becomes easy, keeping them looking great for a long time.
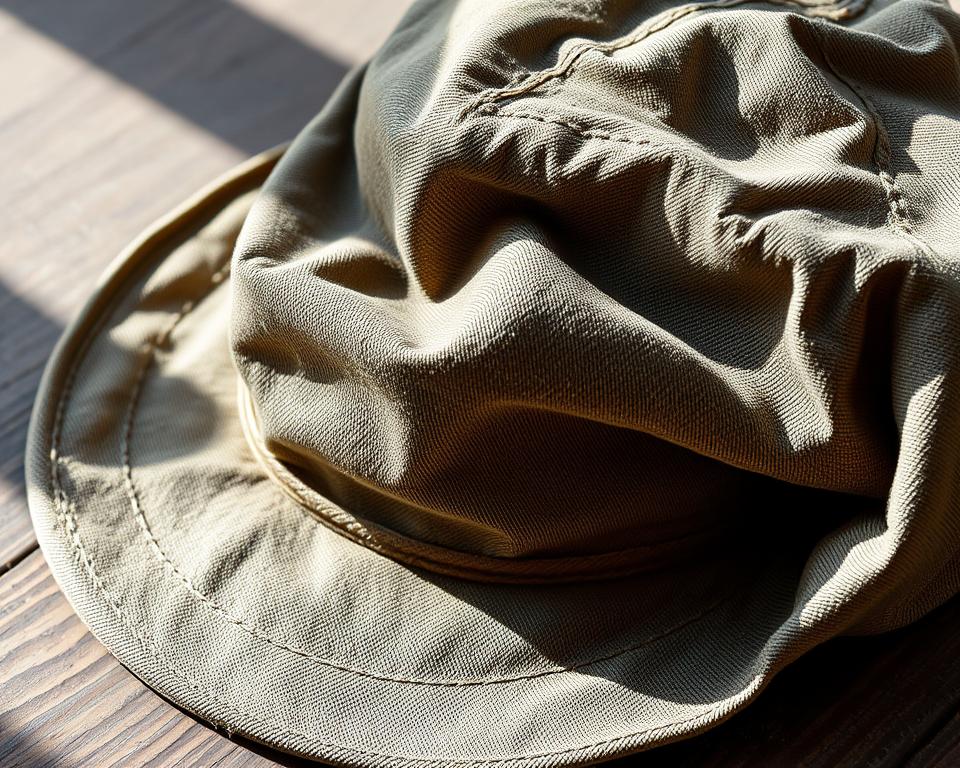
Solutions for Misshapen and Crushed Hats
Fixing a misshapen hat can be done in several ways. Steam reshaping is a top choice for fixing crushed hats. It uses steam to soften the hat, making it easier to reshape. For instance, a crushed felt hat can be steamed and then reshaped with a hat block.
Another fix is professional blocking. A hatter can use special tools to reshape the hat. This method is pricier but works well for badly damaged hats. Sometimes, a mix of steam reshaping and professional blocking is needed.
- Using a steam iron to soften the hat’s material
- Applying steam to the hat using a garment steamer
- Using a hat block or other tool to reshape the hat
These methods can fix many types of hats, like fedoras and panama hats. With steam reshaping and other techniques, a hat can be fixed and last longer.
Dealing with Stains and Discoloration
Stains and discoloration can ruin hats. But, there are ways to fix them. Removing stains needs patience and the right methods. First, figure out the stain type and pick the right cleaner.
Spot cleaning is a good way to tackle stains. It involves applying a small amount of cleaner to the stain and gently blotting it. Always test the cleaner on a small, hidden area first to avoid damage. Fixing discoloration can be tough, but it’s doable.
To stop stains from getting worse, use color-protecting sprays or creams. These products keep the hat’s color bright and prevent fading. Regular spot cleaning also helps prevent stains from setting in. With these tips, you can keep your hat looking great and last longer. Whether it’s a small stain or big discoloration, you can fix it with the right steps.
Some common spot cleaning methods include:
- Blotting the stain with a clean cloth
- Applying a small amount of cleaning solution to the stain
- Gently scrubbing the stain with a soft-bristled brush
Using these methods and the right cleaners can remove stains and bring back your hat’s original color.
When to Take Your Broken Hat to a Professional
DIY hat repair can be fun and rewarding. But, there are times when you should take your broken hat to a pro. This is true for complex damage or rare materials that need special care. A professional can fix your hat to its original state with the right tools and knowledge.
Scenarios needing a pro include damaged hat bands, torn brims, or misshapen crowns. Experts can fix or replace these parts, making your hat look and fit like new. Look for services that specialize in hat restoration and have experience with different types and materials.
To find a good hat repair service, follow these tips:
- Research local hat repair shops and read reviews from previous customers
- Check for certifications or memberships in professional hat repair organizations
- Ask about their experience working with hats similar to yours
By taking your broken hat to a professional, you ensure it gets the best care. They can fix your hat and make it last for years.
Preventive Care Tips to Avoid Future Damage
To keep your hat in great shape, follow some easy care tips. Storing your hat right is key to avoiding damage. Keep it in a cool, dry spot, away from sunlight. Use hat boxes, bags, or stands to keep its shape and protect it from dust and moisture.
Regular care is also important to make your hat last longer. Create a routine that includes cleaning, conditioning, and checking your hat. This stops dirt and grime from causing harm. By doing these steps, you’ll enjoy your hat for many years.
- Avoid exposing your hat to extreme temperatures or humidity levels
- Handle your hat with care, avoiding rough handling or bending
- Use a soft-bristled brush to remove dust and debris from your hat
By following these simple tips, you can keep your hat looking great. Remember, taking care of your hat and storing it properly are essential. They help your hat stay in good condition for a long time.
Conclusion: Giving Your Hat a Second Life
Fixing and restoring hats is a rewarding process. It can make your favorite headwear look new again. By using the tips and techniques from this guide, you can fix and care for your hat with ease. Remember, taking good care of your hat helps it last longer.
If your hat has a torn brim, a broken band, or a crooked crown, don’t worry. The solutions in this guide will help you fix it. With the right tools and a little patience, you can make your broken hat look like new again. It’s a great way to save money and help the environment.